Installing Handy Backup Web Access
Handy Backup Web Access requires Handy Backup (or Handy Backup Server) and Java Runtime Environment (JRE) installed on your PC.
- Handy Backup can be downloaded at http://www.handybackup.net/download.shtml free of charge. For installation instructions, please refer to Handy Backup Installation in the User Manual.
- Java Runtime Environment is a computer environment implementing Java Virtual Machine. It was chosen as a highly efficient platform for bundling Handy Backup with an HTTP server, and can be downloaded at http://java.com/en/download/manual.jsp for free.
Installing Handy Backup Web Access
To install Handy Backup Web Access, follow these steps:
- Launch the Handy Backup Web Access installation file (handybackup_webaccess.jar).
- On the Welcome screen, click Next.
- Handy Backup Web Access is changing in step with Handy Backup and may not be compatible with versions earlier than the most up-to-date one. After the welcome screen, you will need to confirm that you are using the correct version of Handy Backup. To do it, select the respective radio button, and then click Next.
- Specify the folder Handy Backup Web Access will be installed into, and then click Next.
- To confirm the creation of the new folder for Handy Backup Web Access files, click OK.
- When the installation is finished, click Next.
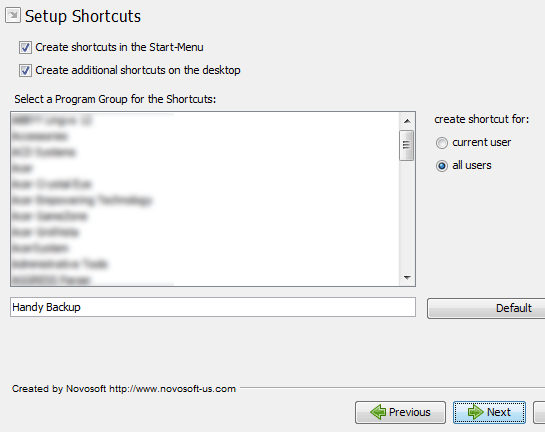
- Specify the common installation options, and then click Next.
- Click Done.
